

A Grand Standing Paste, in the painting “February” by Joachim von Sandrart – 1642
In earlier posts, I offered recipes for a small standing crust — perfect for individual-serving meat pies, a short crust, as well as a puff pastry. These recipes were versions of the three types of crusts used probably most often in 18th century cooking. The basic distinctions between these three crust types have to do with the methods employed to make them. Standing crusts were typically made with boiling water, while the ingredients in short pastes and puff pastes were kept cold. In addition, the fat ingredient in a standing crust was melted and completely incorporated, while it was cut in cold into short pastes and laminated between layers of dough in puff paste.
There were many other types of crusts from the English kitchen, but most, if not all, could still be classified by one of these methods; their differences were defined primarily by the ingredients used.
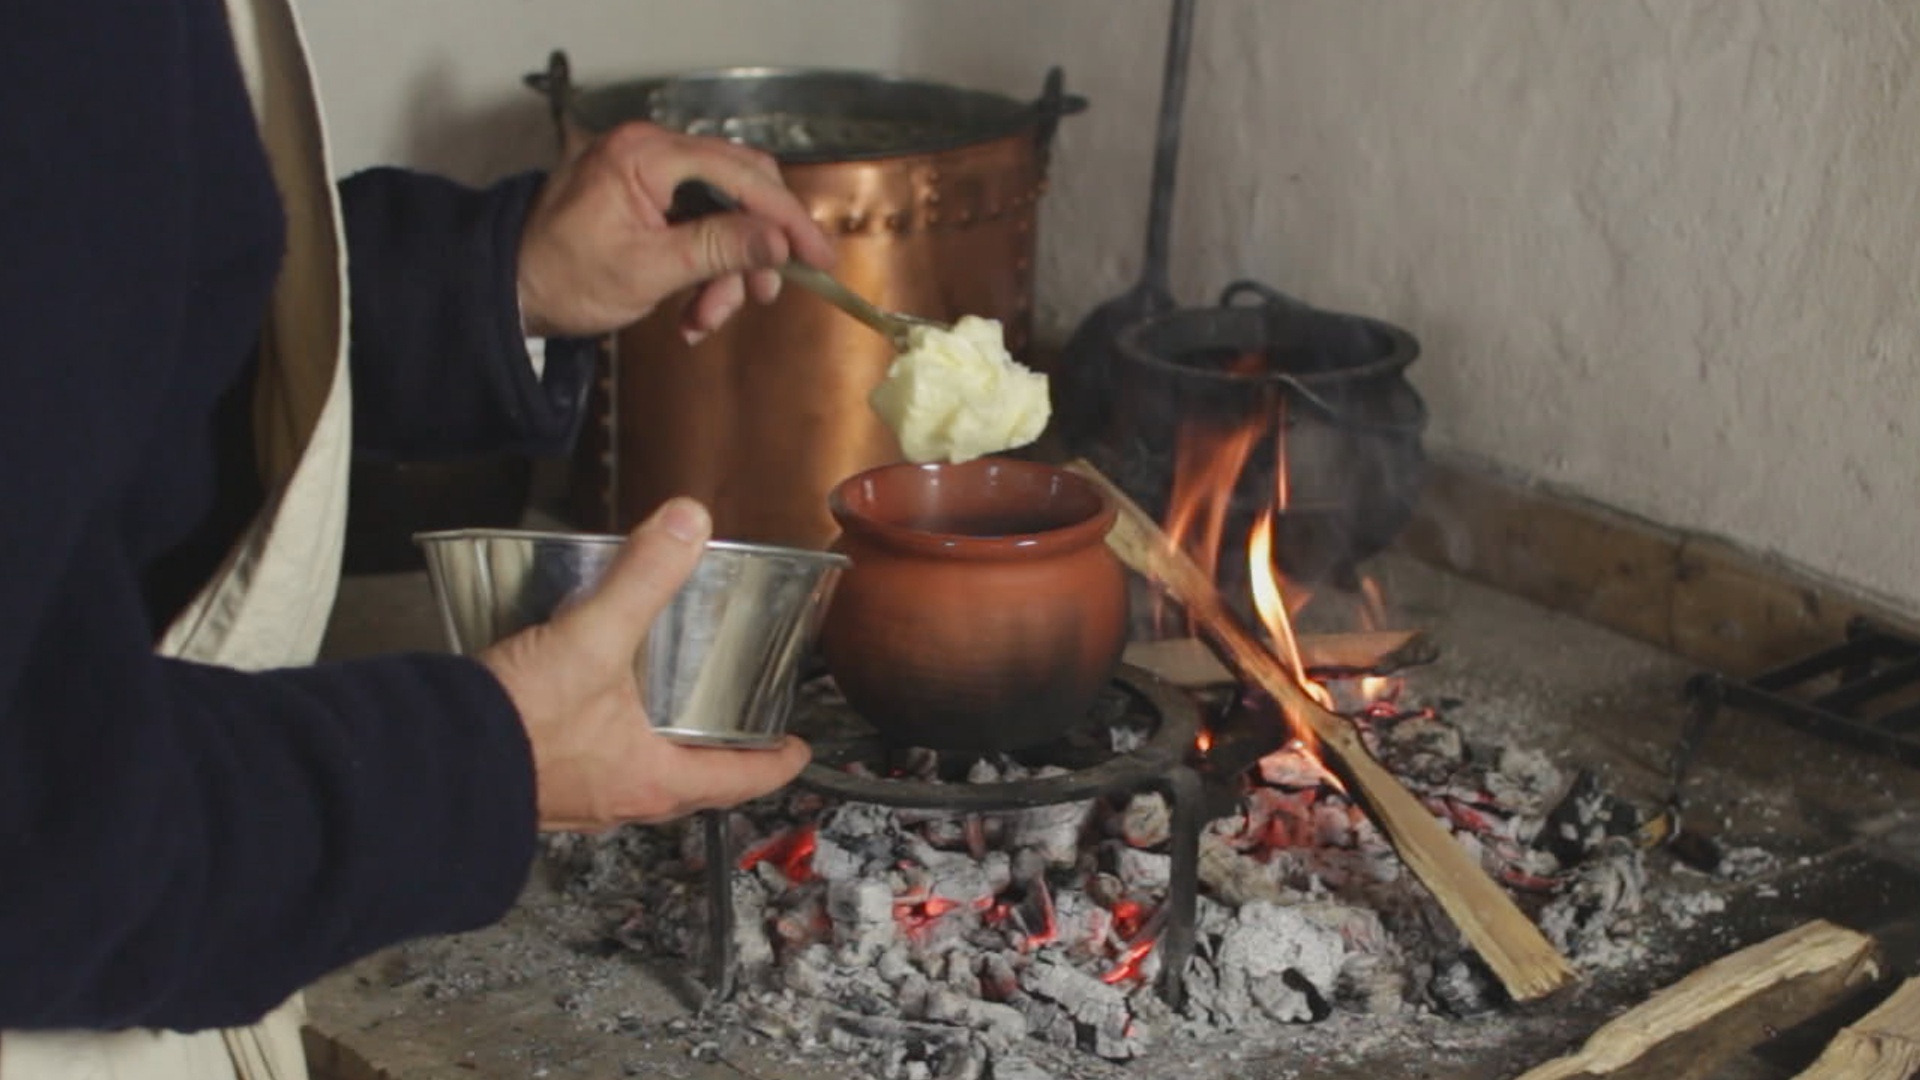
Standing crusts were likely the oldest of the three pastry types. The crust of a standing pie served as its own cooking, serving, and storage vessel. Sometimes these pastries were partially baked before being filled, in which case, the pie’s lid was often baked separately. Other recipes suggested filling the pastry prior to baking. The lids were most often sealed to the walls and a hole was cut in the top of the pie. If the pie was to be served immediately, a gravy was poured through the lid’s hole after baking. As in many cases, if the pie was to be stored for later consumption, the pie was filled with either clarified butter or suet to keep the air away from the pie’s contents. Pies were reportedly kept this way for weeks. When it came time to serve the pie, they were reheated, and the suet was poured out and replaced with a gravy.
When served at the table, the crusts of standing pies were often emptied of their contents just like other serving bowls. The crusts themselves were seldom eaten, but rather either discarded or returned to the kitchen to be used at a later date as a thickening agent in soups and stews.
The recipe I share today is for a larger standing crust from Mrs. Frazer’s 1791 cookbook, “A Practice of Cookery.” There are many 18th-century recipes for standing crusts from which to choose. This recipe, however, is a bit unique in a couple of ways: first, it makes a smaller batch of dough — most recipes were intended to make either a very large pie or several mid-sized pies; and second, this recipe is fairly specific regarding the measures of ingredients, whereas most recipes depended greatly on the cook’s experience and ability to judge whether the proper texture and consistency had been reached. This unusual clarity found in Mrs. Frazer’s cookbook may have been due to the likelihood that the book was written and published both as a reference for household and professional cooks as well as a textbook for her culinary students at Edinburgh.
The method I propose in constructing this standing crust is different from that of Mrs. Frazer’s. There were two basic methods of raising a standing crust. I’ll draw upon my experience as a potter to describe both methods.
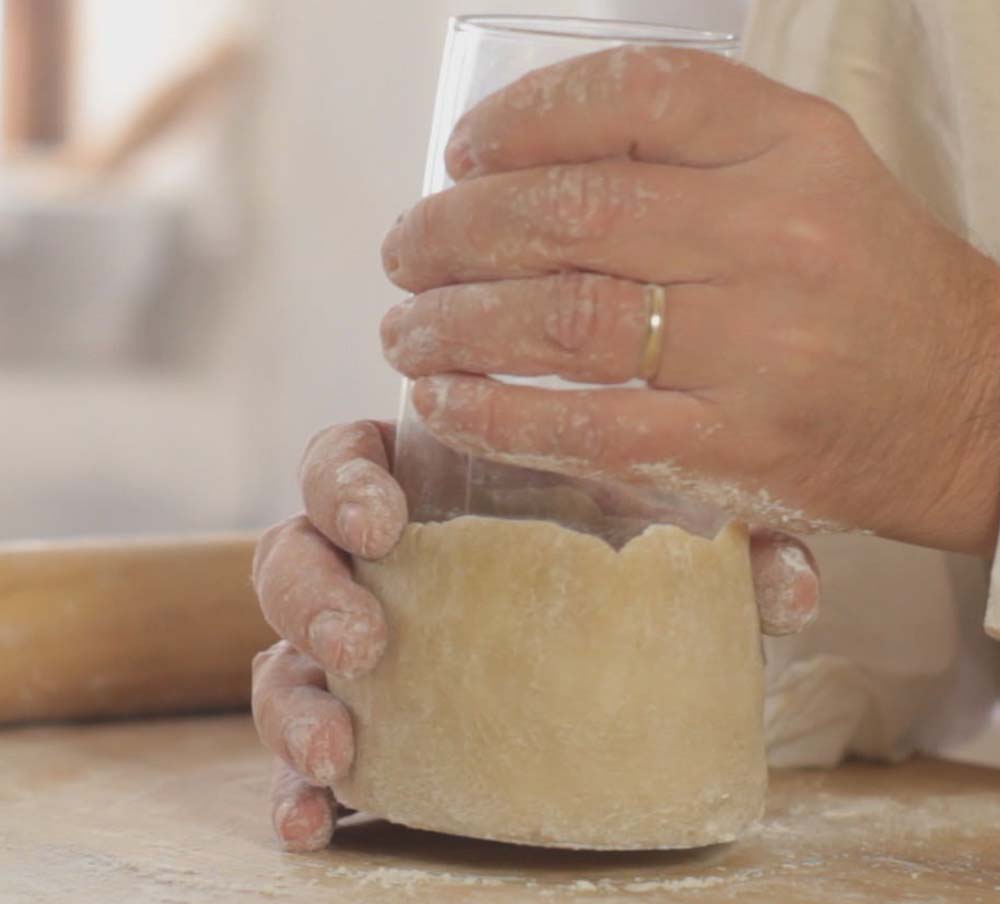
Jon is using an improvised pastry dolly to raise this small standing crust.
The first is what I call a pinch-pot method in which the base and walls of the crust are pinched, squeezed, and pulled from one lump of dough. We used this method (with the assistance of an improvised pastry dolly) in our Standing Crust Meat Pie video. Depending on the type of fat you use (check out my earlier post, “A Pork Pie with a Standing Crust”), you may find it easier to construct the crust while the dough is still warm.
The second method is what I call “slab building,” where the dough is rolled out and cut into the separate pieces needed to make the final crust (i.e., the base, the lid, and the wall pieces). All of that is done while the dough is still warm. The pieces are then given the chance to cool down completely — even over night. They are then “glued” together using egg white.
This second method seems to offer more control (as well as much less frustration) over the first method. While slab building is a legitimate 18th century pastry technique, is seems to be treated by most authors who mention it as a technique used by lesser experienced cooks.
I embrace my inexperience.
In my experience and opinion, slab building results in a neater, “less vulgar” (as the 18th century culinary critics would put it) finished appearance.
A Standing Crust (with removable lid)
Ingredients:
12 ounces Water
6 oz. Butter, or 1-1/2 sticks (*See my caveat above)
6 cups All-Purpose Flour
1 Egg
1 Egg Yoke
1 Egg White to be used as a wash during and after construction.
Directions:
Put the water and butter in a sauce pan (or pipkin) and bring to a gentle boil over medium heat.
In a large bowl, mix together the flour, egg, and egg yoke.
Once the water and butter have come to a boil, add it to the flour mixture and mix it well with a spoon. Once the dough has cooled down to the point that you can handle it, turn it out onto a floured surface and knead it for about 10 minutes. Cover the dough and allow it to rest for another 5 minutes.
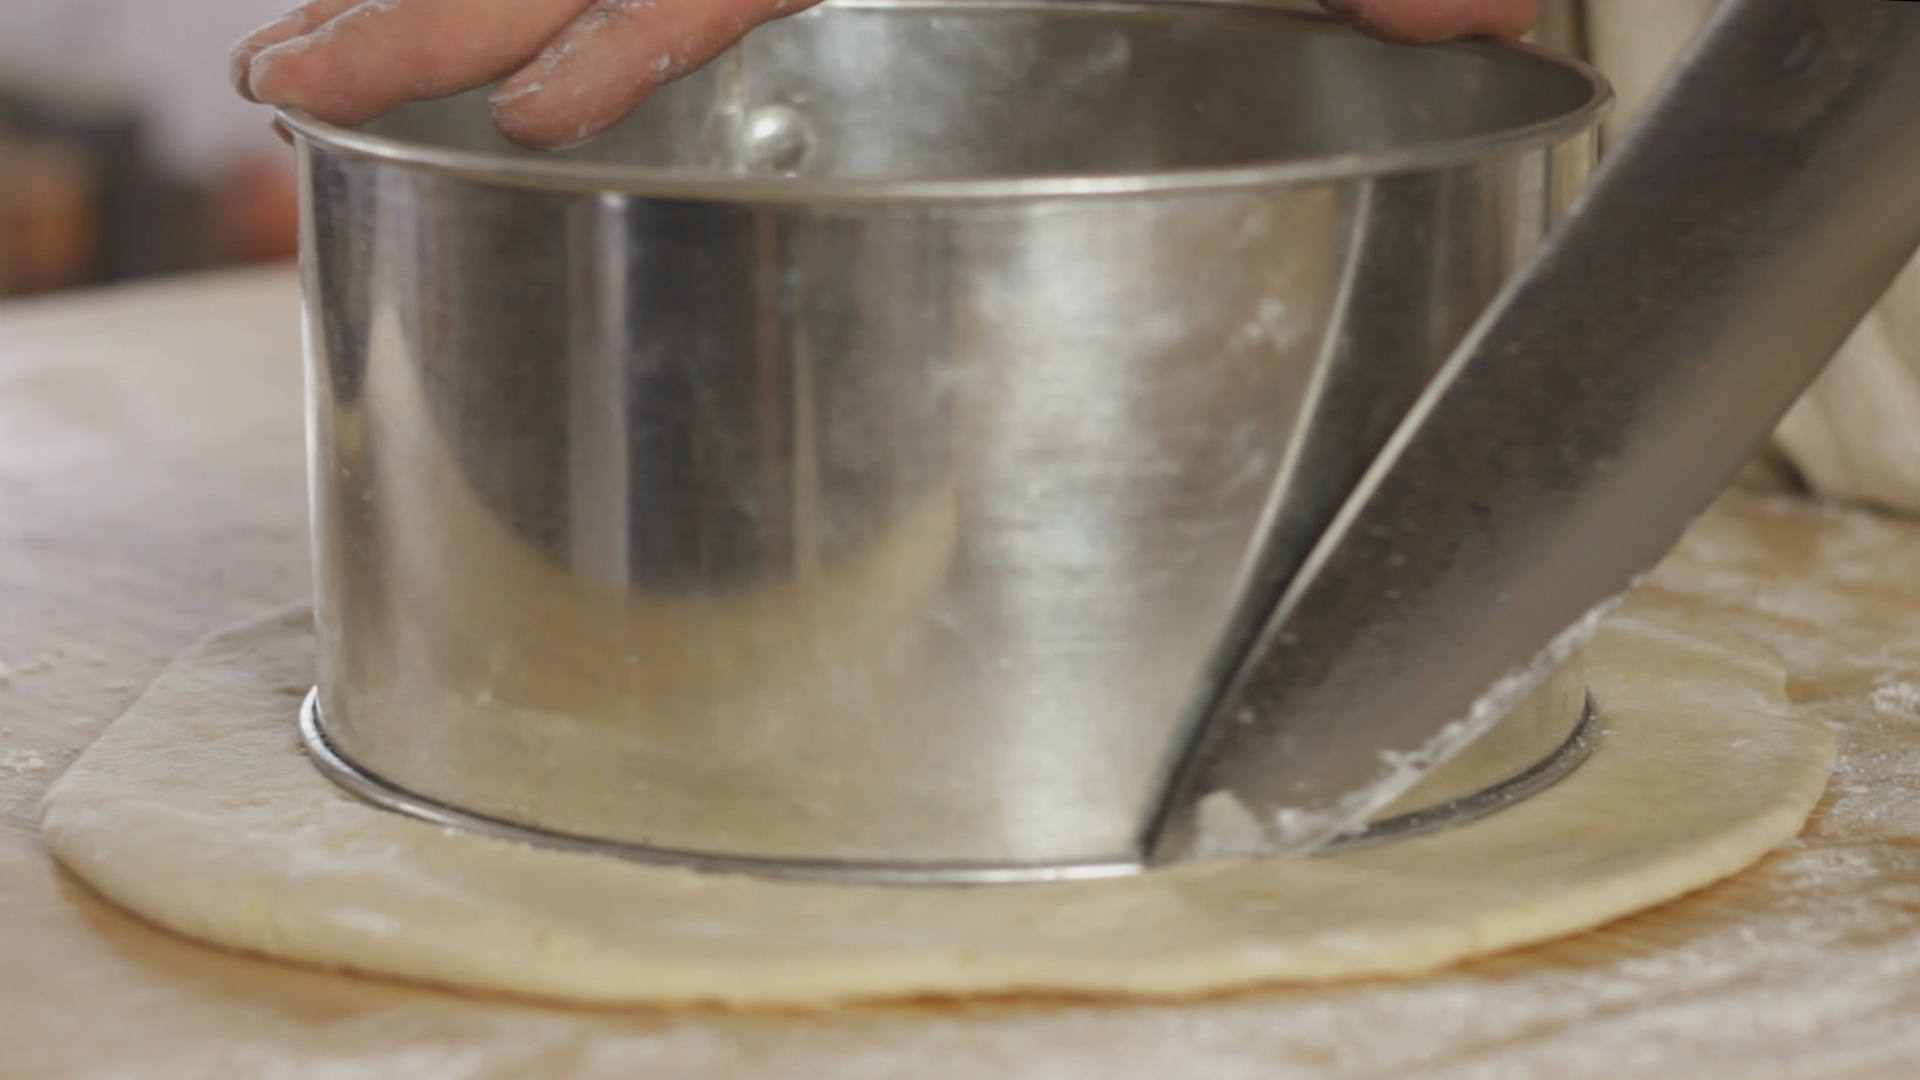
Divide your dough into three equal portions. Take the first lump and roll it out in a large circle about 3/8″ thick. Use a plate or a pan (we used our 8″ Cake Ring) as a template to cut out a circle 8″ to 9″ in diameter. This is the base to your pie. Repeat this with the second piece of dough to form your lid. Any scrap pieces can be worked back into the third lump of dough.

Roll out the last lump of dough into a strip about 3/8″ to 1/2″ thick and 2-1/2″ wide. This strip should be between 25″ and 29″ long.
Cover your pieces with a couple of layers of cloth, or wrap them gently in plastic wrap to keep them from drying out. Allow them to cool completely, even over night. They will change in texture as they cool.
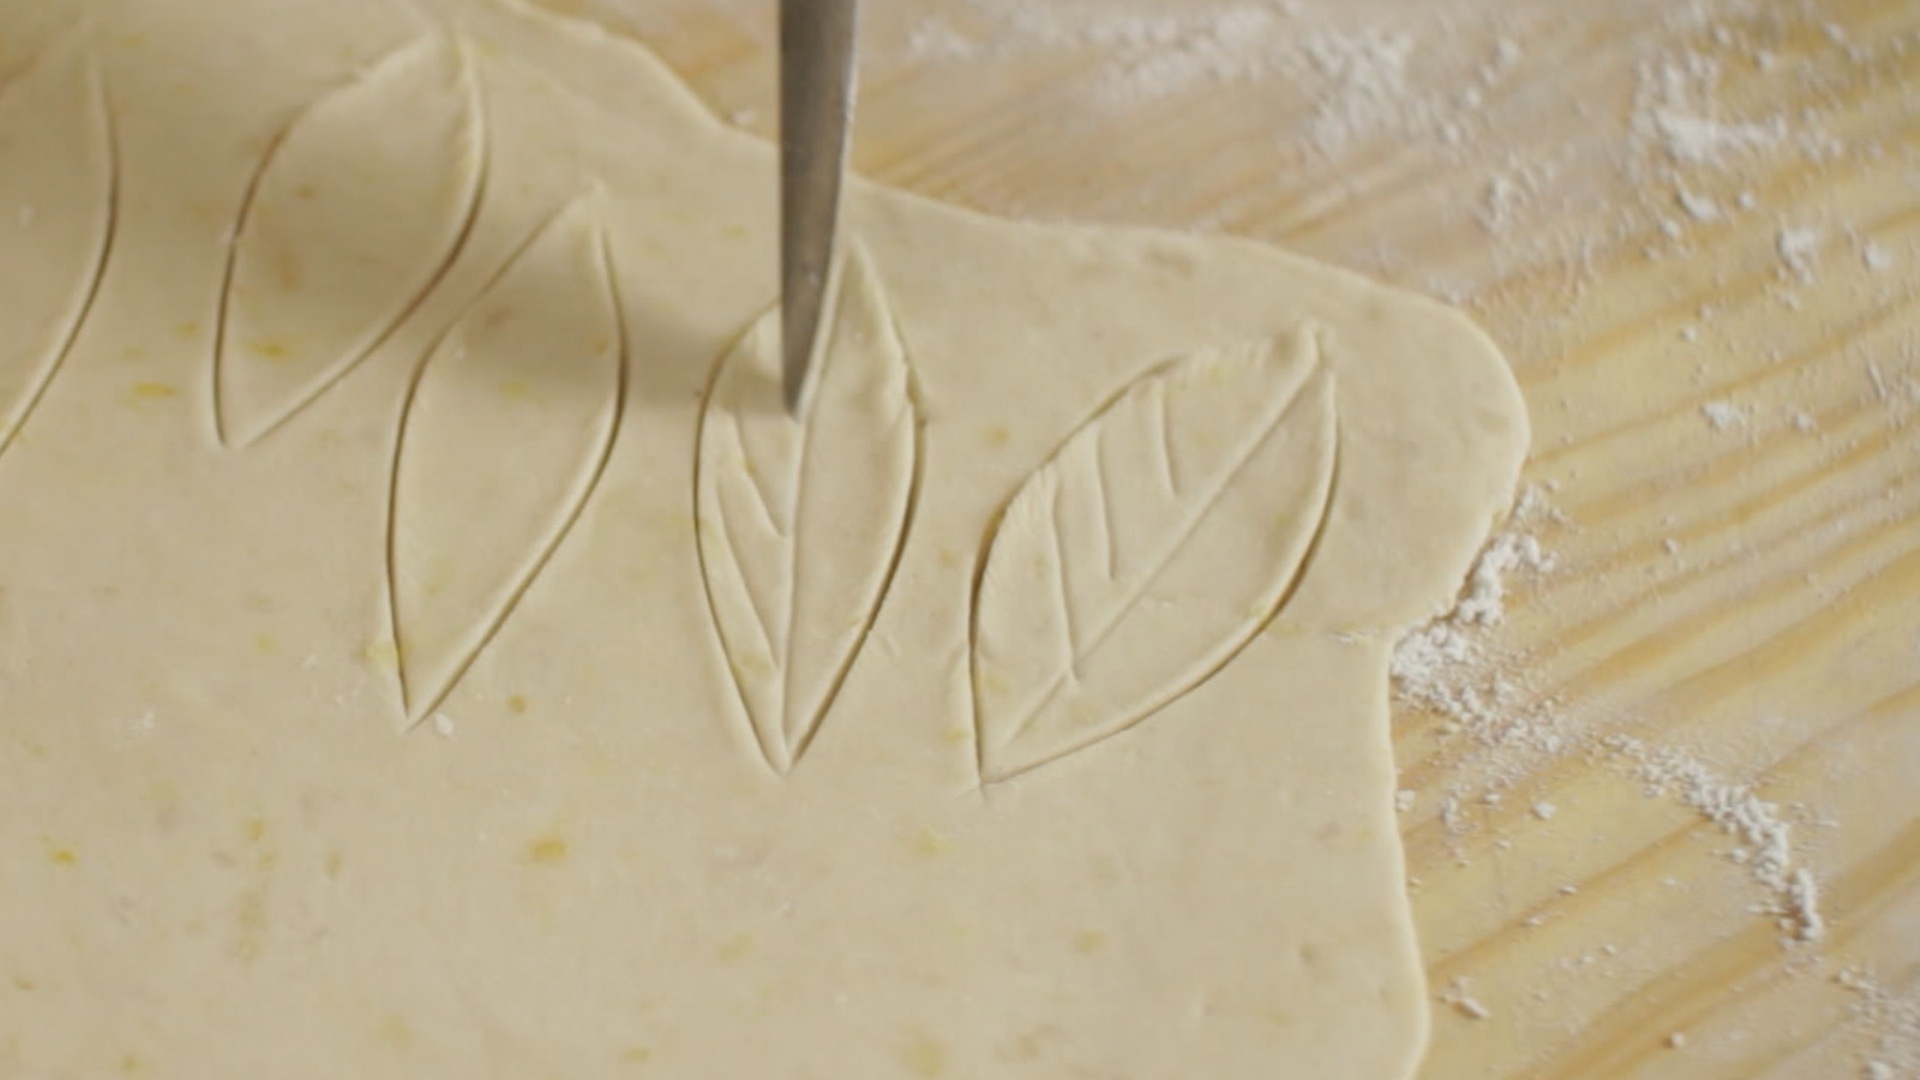
Whatever dough scraps remain can be combined and rolled out to about 1/8″ thickness. Cut out or stamp your decorations from this piece of dough.
 Also cut some 1/2″-wide strips from this 1/8″-thick dough, and twist the pieces into ropes. Wrap your decoration pieces in plastic or cloth as you did previously with the larger pieces.
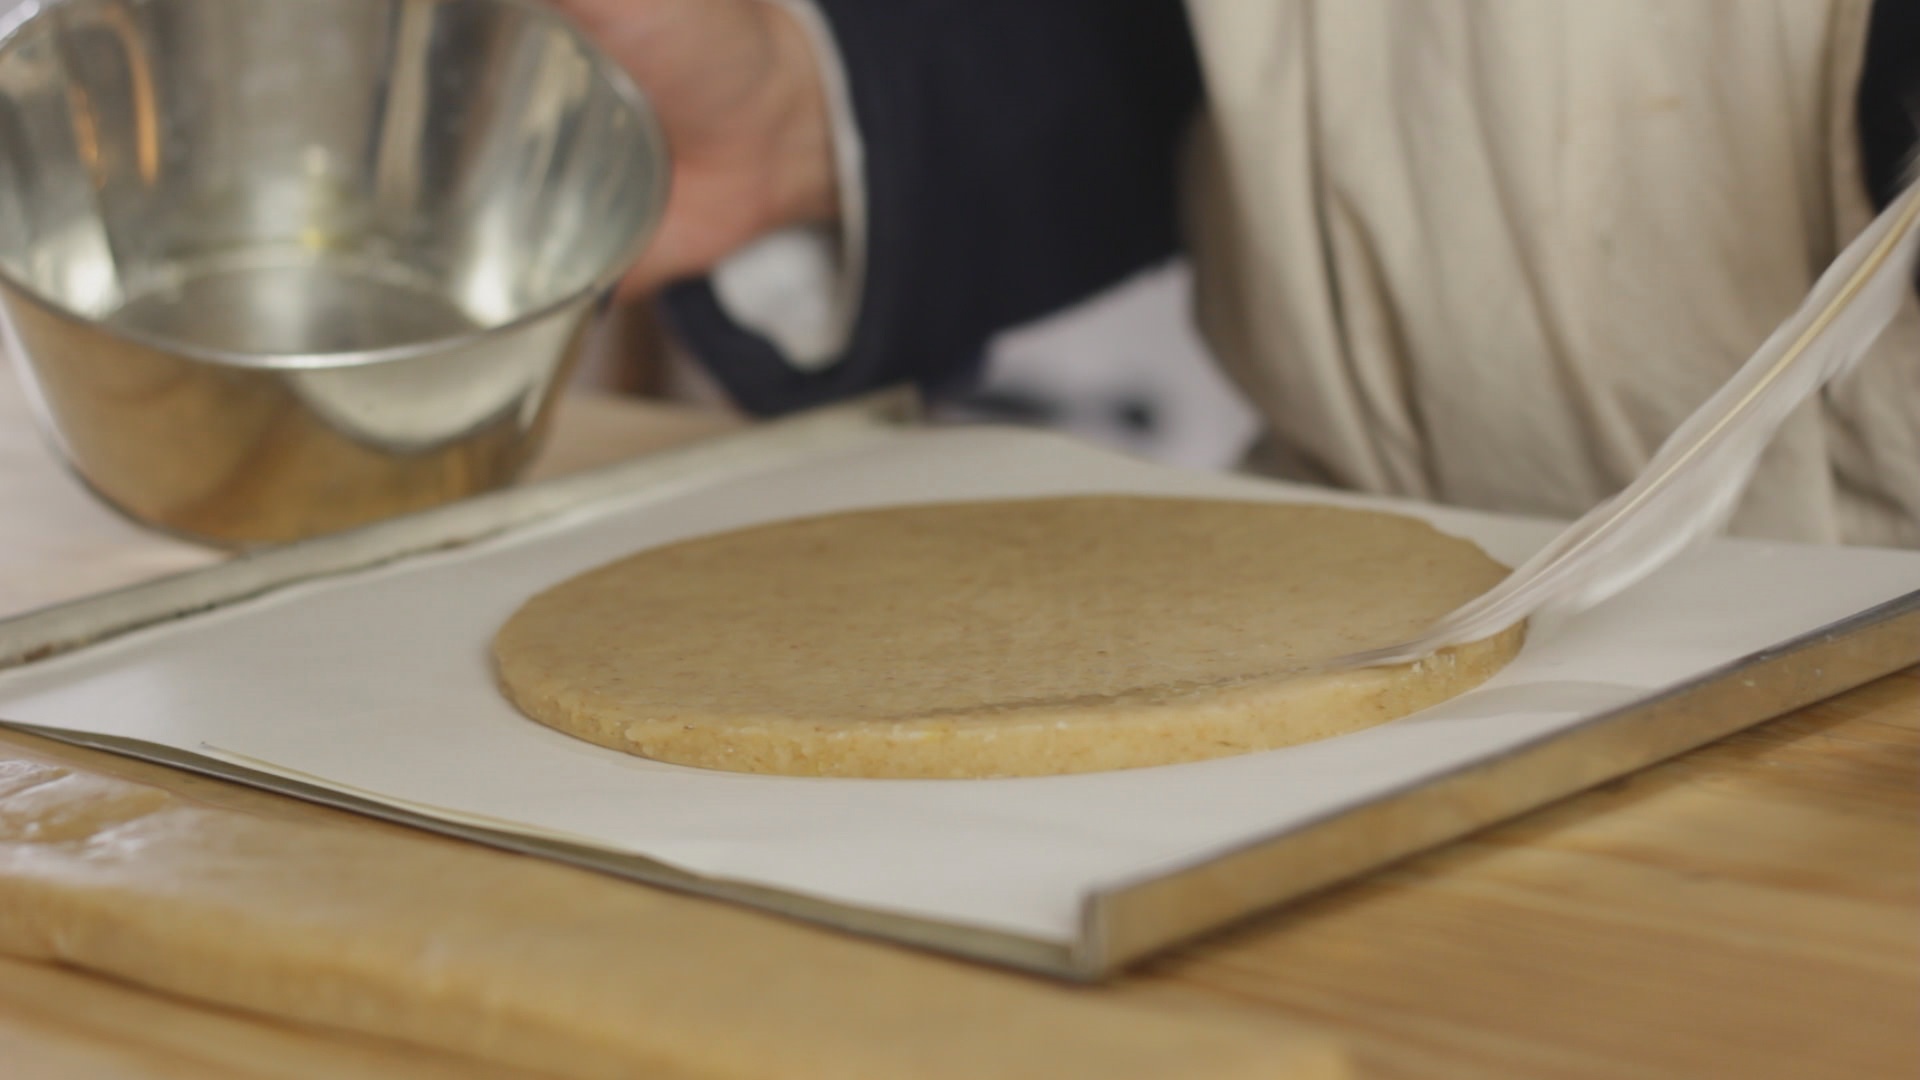
Once the pieces has rested for several hours, preheat your oven to 450-degrees (F), and begin construction by placing the base of your crust on a paper-lined baking sheet. Brush egg white on top of the base all along its edge.
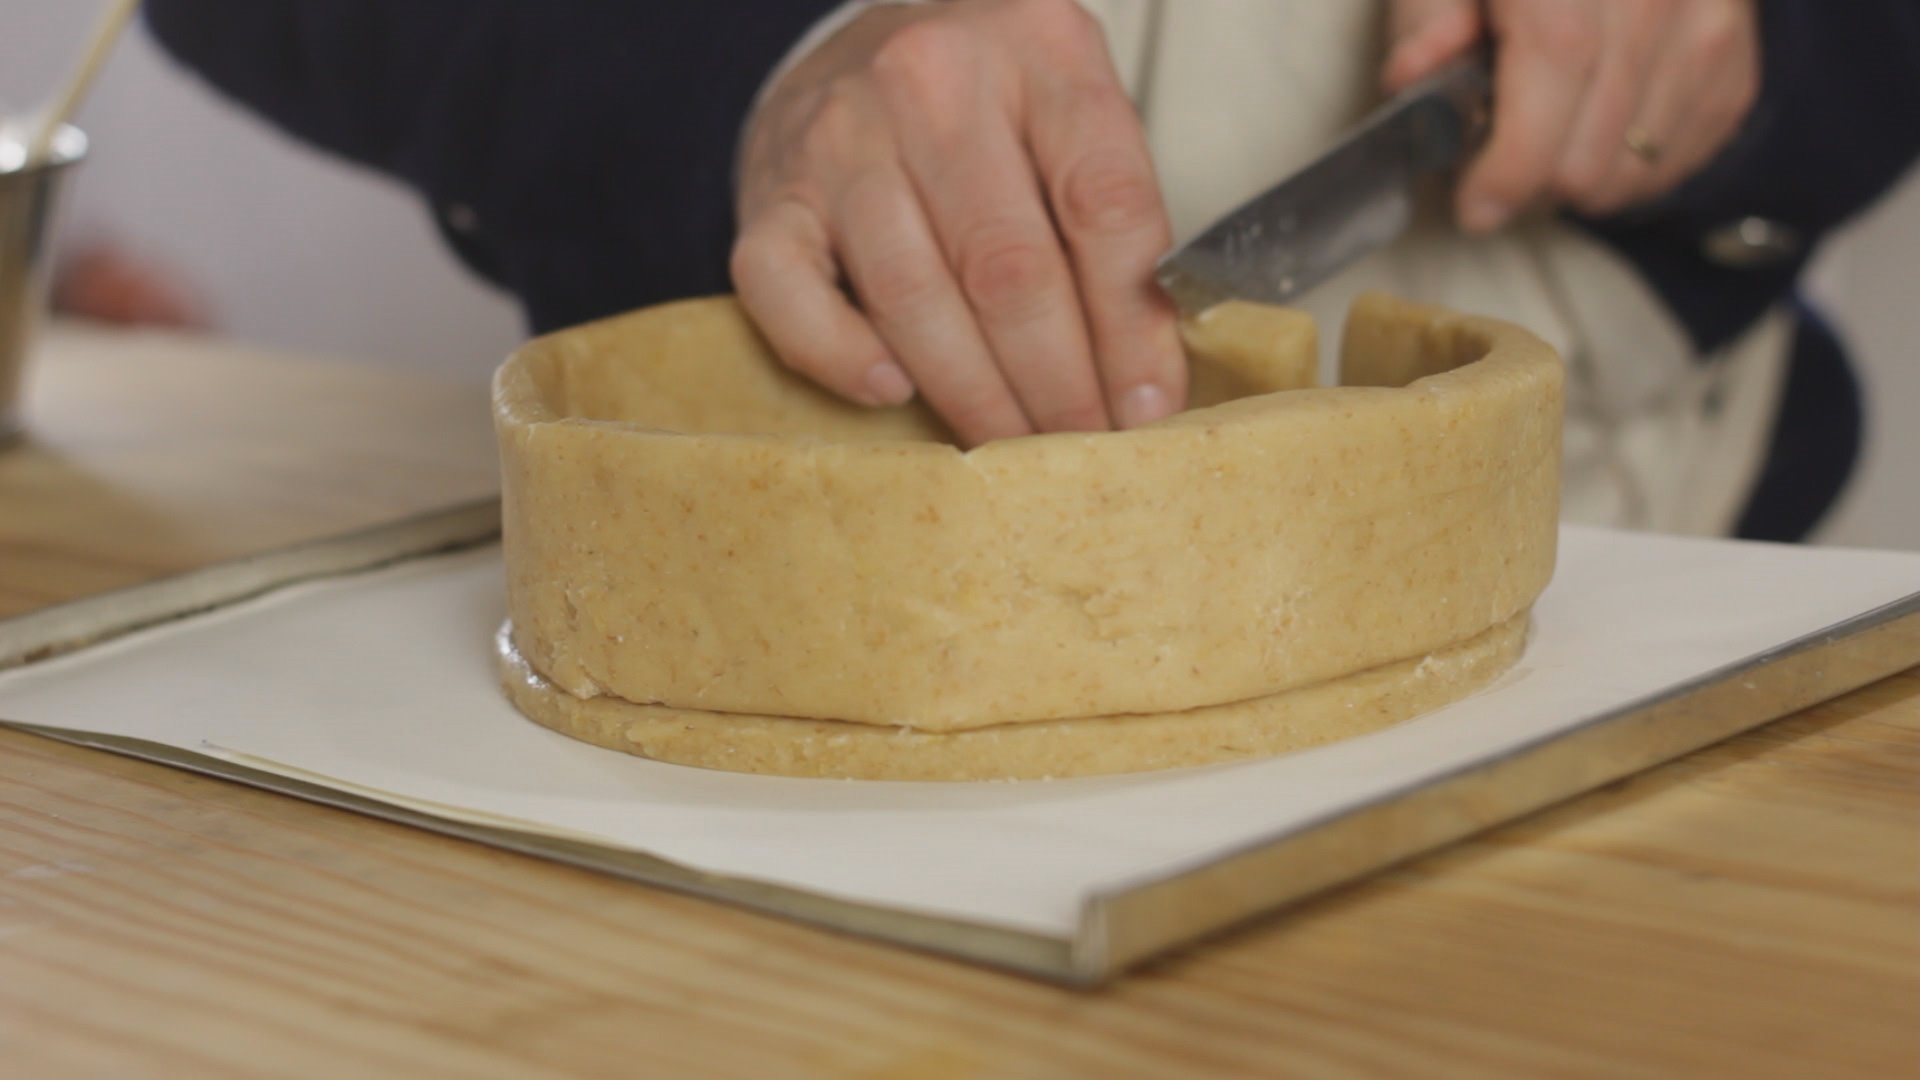
Set the wall piece on top of the base where you brushed on the egg white. Trim the piece’s end so its two ends meet flush together. Be sure to brush this freshly cut end with egg white, then press the ends together.

Brush the backs of your decoration pieces and apply them to the outside surface of the base and walls. Be sure to cover the wall seam with one of your decorations. Don’t forget to decorate your lid as well. When you’re finished decorating, brush the entire outer surface with egg white.
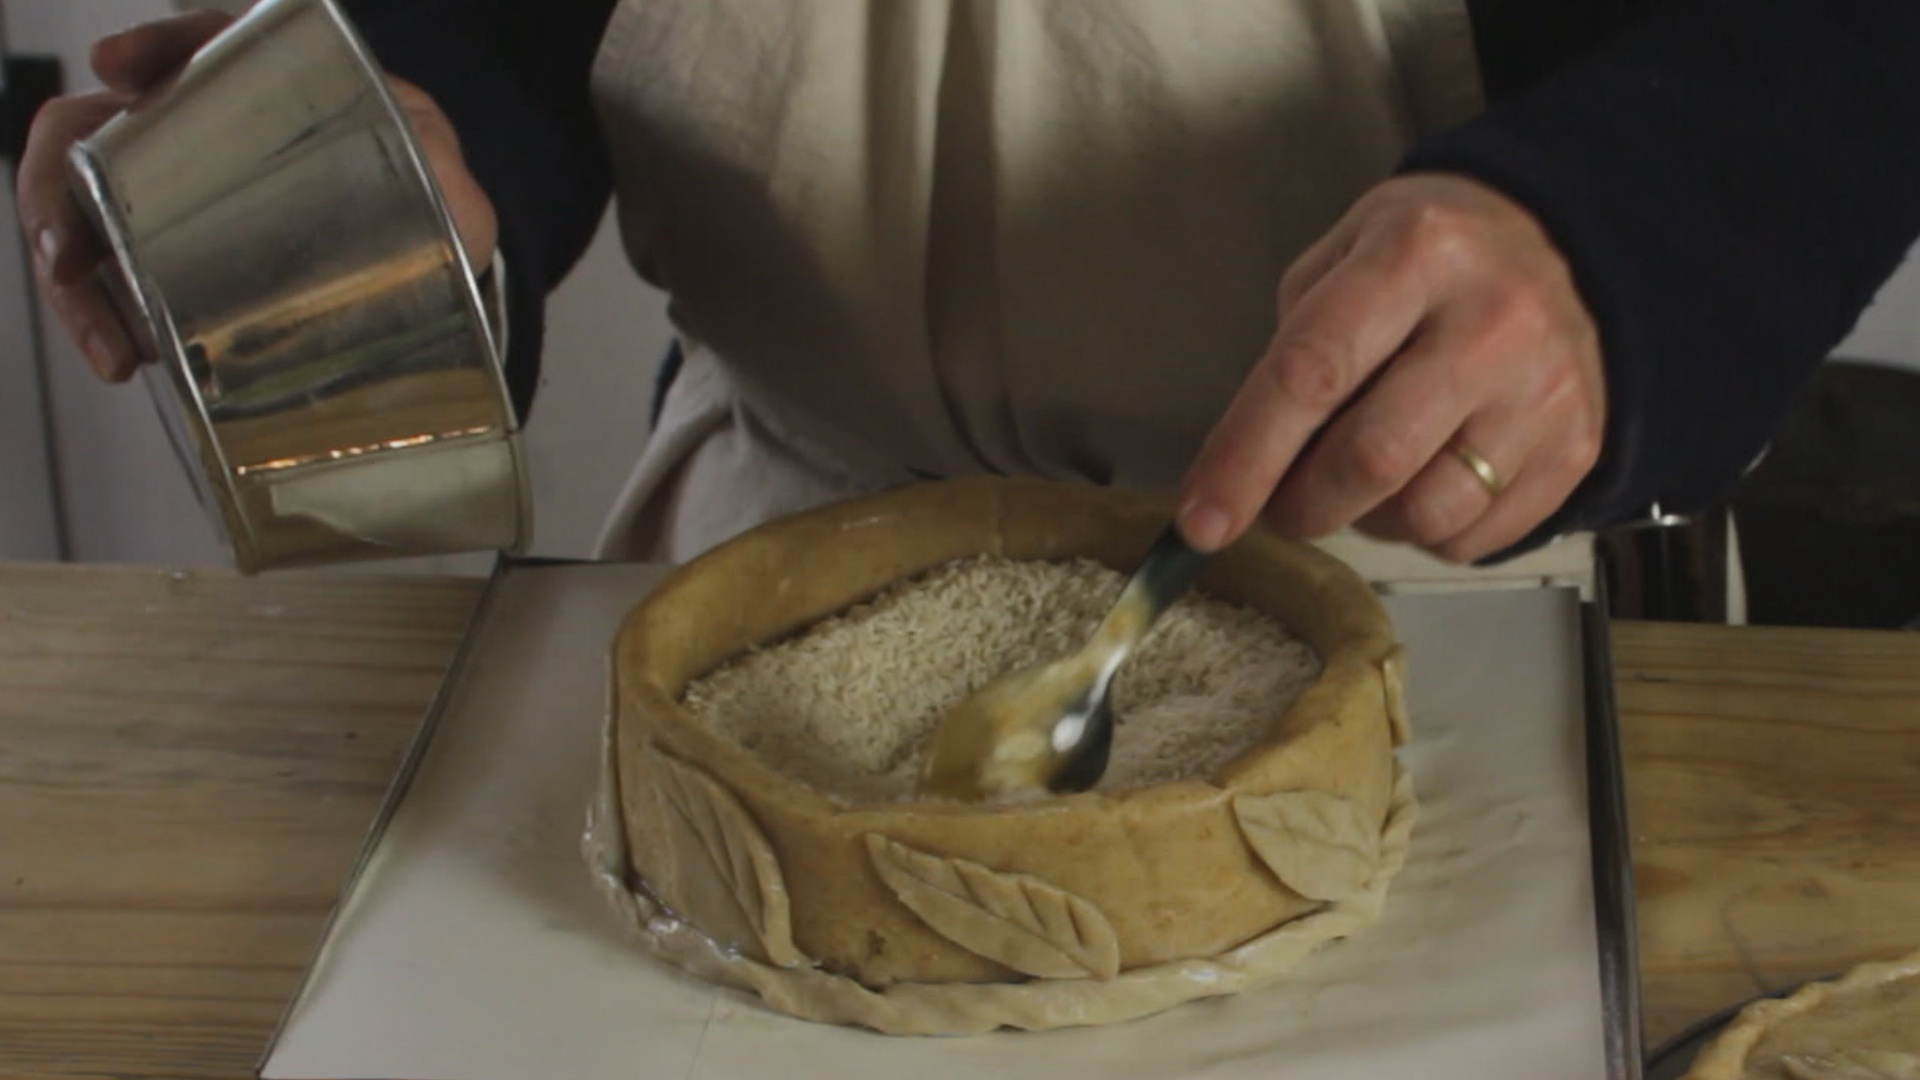
Fill your crust with uncooked rice. This will help support the walls while the crust bakes.
Place your lid on a separate paper-lined baking sheet, or use a tin plate like we did.
Be sure your oven is heated to the 450-degrees. I tried this at 375-degrees and was sorely disappointed to find that my crust walls slumped. A number of period recipes offer this same warning. Bake your crust and lid for 15 minutes. You’ll know it’s time to remove your crust from the oven when you begin to see the slightest amount of color on the peaks of your decorations.
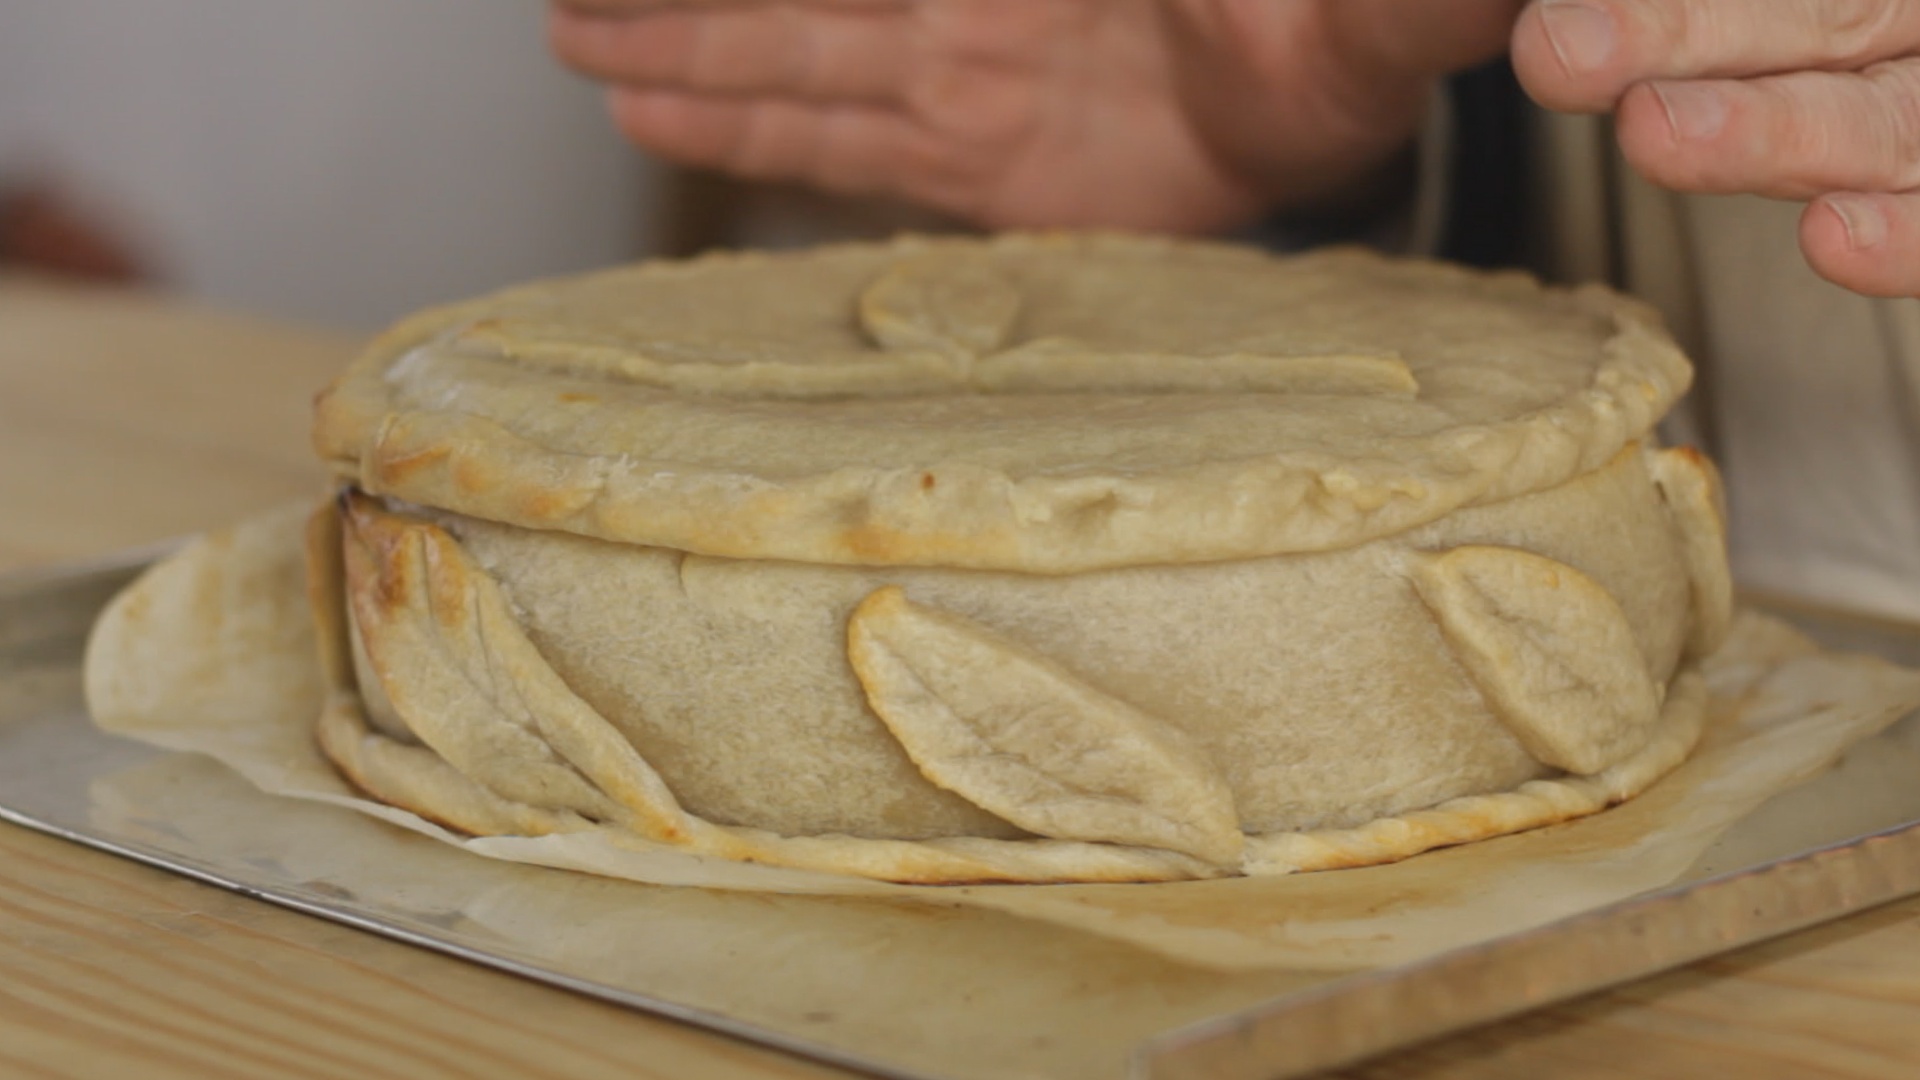 Once you remove the rice, your crust is ready to be filled. it can be used for meat pies, vegetable pies, or sweet pies. The final baking will be done at a lower temperature — around 350-degrees (F), usually for about an hour.
In my next post, I’ll share with you a recipe for Vegetable Pie from Sarah Martin’s 1795 cookbook, “The New Experienced English-House-Keeper.”


Pingback: Standing-Crust Pie Recipes | Savoring the Past
This looks like a great recipe. I think I will try making a very large standing crust and then baking a seapie inside for my Thanksgiving this year. Keep up the good work and great cooking videos.
Great post Jon! I love me some Scottish meat pies! I tried the “pinch pot” method, and yielded pretty good results, but my pies didn’t look like the “real deal”..definitely “rough”! I tried using a glass, glass for a makeshift dolly..couldn’t get the shell off of the glass without destroying it! Nothing works better than a traditional wooden pie dolly, and after make a few batches, you get a good rhythm going and can make a batch of pies quickly! =) I imagine even a large pie dolly would be fairly easy to use also, assuming you could find one that big!
Exactly what I wanted! Wonderful! After watching Poldark and lusting after those standing pies, I had to learn how to make them. Delightful! Thanks so much!