

We usually think of fried chicken traditionally as an American dish, but today I’m going to share with you an old English recipe from a little recipe book by Nathan Bailey called “Dictionarium Domesticum” written in 1736 that I think will change the way you make fried chicken. It’s set up like a dictionary so it’s in alphabetical order and you’ll find this recipe under marinade.
- Whole Chicken Quartered
- Oil for frying
- Parsley Sprigs
Marinade
- 2 Large Lemons
- Equal amount Distilled Vinegar
- 2 Bay Leaves
- 1 tsp. Salt
- 1 tsp. Black Pepper
- ¼ tsp. Cloves
- ½ cup Green Onions or Shallots
Batter
- 1 ½ cups all-purpose Flour
- White Wine like Rhine Wine
- 3 Egg Yolks
- 1 tsp. Salt

Now this recipe is actually pretty simple. It starts off with a very basic marinade of lemon juice and verjuice or vinegar. Verjuice is actually a very common ingredient you’ll find in early 18th century recipes. It comes from the juice of unripe unfermented grapes, and while it’s very sour, actually has a very mild flavor. If you’re going to use vinegar, what would have been typical in an 18th century English setting would be malt vinegar, but the time period, it was called wine vinegar. If you can’t find malt vinegar or you are looking for a milder flavor you can use cider vinegar or even distilled vinegar.
We are going to use the juice of two large lemons and an equal amount of distilled vinegar. To that, I am going to add two bay leaves, a teaspoon of salt, a teaspoon of black pepper, and a quarter of a teaspoon of cloves. The last ingredient is something called chaebols and we had to look that one up. We found out that it is a spring onion or as we would call it, green onions and we are going to use a half a cup. You could substitute this with shallots as they were also very common in the 18th century and it would probably make a very interesting flavor addition.
The recipe calls for quartering your chicken. I’ve actually cut it up into individual pieces so that it’ll go a little farther. The recipe suggests marinating this chicken for 3 hours and you should probably stick to that. Some of the more powerful ingredients, like the malt vinegar, can really enhance the flavor too much if you marinate for too long.

Once you come to the 3 hour mark, it’s time to work on the batter portion. Like our marinade, the batter is also very easy to make. I’m using about a cup and a half of flour, just regular all-purpose flour will work fine. Add enough white wine, like Rhine wine would be good, to make this into a thin pancake batter. If you don’t want to use wine, you could use cider instead or maybe just water. Finally, add the yolks of 3 eggs and a teaspoon of salt. You can top this off with a little more wine if needed to get the right batter consistency.
There was no suggestion of the particular kind of oil to fry in. In the 18th century, they would most likely have used lard or even a clarified butter. You can use the modern oil of your choice. Be very careful If you are deep frying over an open fire. You want to heat your oil to about 350 degrees. You should see a little shimmer on the top, but definitely not smoking.
We’re going to fry this in batches of 3 or 4, maybe 5 pieces, depending on the size of your pot. I’m not sure exactly how long you want to cook it, but you want to get to the point where the color is a nice light mahogany brown.

Now before we serve this, there’s just one more component that we need to do, fried parsley. Now you may think that’s strange, but trust me, you’ll love it. Before you fry your parsley, make sure it is very, very dry. Blot it as much as possible, or the results can be disastrous. Fry it in small batches for several minutes until it gets nice and crispy. We’ll crumble this over the chicken as a tasty garnish.

18th century fried chicken flavors are definitely a little different than what you’re used to. That marinade does something really special. You get a little bit of that lemon flavor coming through just a little bit with a hint of that wonderful flavor and the crispiness and the fried parsley is really interesting. I really love this recipe. If you give this one a try, I really hope you go down in the comments section and tell us how it works out. I love this one and I think everyone should try it.
Transcript of Video:
We usually think of fried chicken as well, traditionally an American dish, but today I’m going to share with you an old English recipe from 1736 that I think will change the way you make fried chicken. Thanks for joining us today on 18th Century Cooking.
The recipe today comes from the little recipe book by Nathan Bailey called “Dictionarium Domesticum” from 1736 and it’s an odd little cookbook. It’s set up like a dictionary so it’s in alphabetical order and this recipe you’ll find under marinade. So that’s where we need to start with this recipe, with the marinade. Now this one’s actually pretty simple. It starts off with the liquid portion which is lemon juice and verjuice or vinegar. Verjuice is actually a very common ingredient you’ll find in early 18th century recipes. It comes from the juice of unripe grapes, unfermented, and while it’s very sour, it actually has a very mild flavor. If you’re going to use vinegar, the vinegar that would have been typical in an 18th century, especially English, setting would be malt vinegar. In the time period, they called it wine vinegar, but it’s actually malt vinegar today. If you can’t find that or you want to use something that doesn’t quite have that kind of a flavor, then you can use cider vinegar or even distilled vinegar. Lemons were available as well, depending on your location and your social position and interestingly enough, lemon zest or lemon peel was the second most common type of spice you’ll find in many of the 18th century cookbooks, so very common. In this case I’m opting for the juice of two large lemons and an equal amount of distilled vinegar. The recipe suggests salt, pepper, cloves and bay leaf, but no real amounts here, except for the number of bay leaves, two bay leaves, so we’re guessing maybe a teaspoon of salt, a teaspoon of black pepper, and a quarter of a teaspoon of cloves, and the last ingredient is something called chaebols and we had to look that one up. That’s a spring onions or as we would call it, green onions. I’ve got about a half a cup. Shallots are something that you could substitute in in this place as shallots were very common in the 18th century and it would probably make a very interesting flavor addition.
The recipe calls for quartering your chicken. I’ve actually cut it up into individual pieces so that it’ll go a little farther. The recipe suggests marinating this chicken for 3 hours and you should probably stick to that. If you used some of the more powerful, like the malt vinegar, it can really enhance the flavor too much so 3 hours is a good time.
We’re coming up on our 3 hour mark and it’s time to work on the batter portion and this is a little bit different than what I’m used to. Like our marinade, the batter is also very easy to make. I’m using about a cup and a half of flour, just regular all-purpose flour will work fine and enough white wine, like a Rhine wine, would be good, adding enough to make this into a thin pancake batter, and finally I’m going to add the yolks of 3 eggs. You can top this off with a little more wine if you need to to get to the right batter consistency, and finally a teaspoon of salt will finish this off and mix it so that it’s nice and even. If you don’t want to use wine, you could use cider instead or maybe just water. There was no suggestion of the particular kind of oil to fry it in. In the 18th century, they would have used lard probably or even a clarified butter. You can use the modern oil of your choice. We are deep frying with oil right over an open fire. Obviously you have to be very careful when you’re doing it like this. You want to heat your oil to about 350 degrees. You should see a little shimmer in the top, definitely not smoking.
We’re going to fry this in batches of 3 or 4 pieces, maybe 5 pieces. Really it depends on the size of your pot, and I’m not sure exactly how long you want to cook it, but you want to get to the point where the color is a nice light mahogany brown.
Now before we serve this, there’s just one more component that we need to do, fried parsley. Now you may think that’s strange, but trust me, you’ll love it. Before you fry this parsley, make sure it is very, very dry. Completely dry, blot it as much as possible, or the results can be disastrous. Fry it in small batches for several minutes until it gets nice and crispy. We’ll crumble this over the chicken as a tasty garnish.
Well, there it is. It looks wonderful, let’s find out just how it tastes.
Wow, 18th century fried chicken, and the flavors are definitely a little different than what you’re used to. That marinade does something really special. You get a little bit of that lemon flavor comes through just a little bit, a hint of that wonderful flavor and the crispiness, the fried parsley is really interesting. Mmm, I really love this recipe. This one is great! Who would have thought 18th century fried chicken? It’s great. If you give this one a try, I really hope you go down in the comments section and tell us how it works out. I love this one and I think everyone should try it. I want to thank you for coming along as we experiment. We try these really interesting things out, this food from history. I want to thank you for joining me as we savor the flavors and the aromas of the 18th century.
If you’re new to our channel, I want to welcome you. You can subscribe by clicking the button right up here, also check out our related videos. Thanks so much for watching.

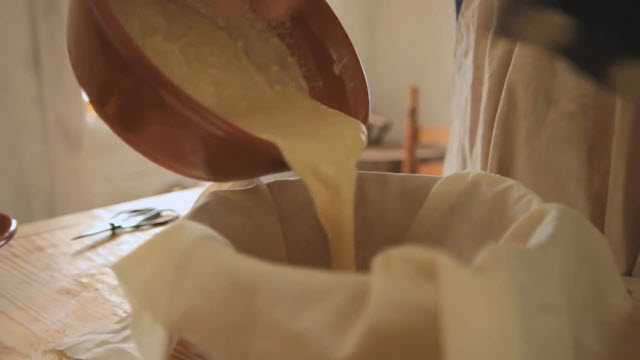

 When you tie the ends for this pudding, you want to make sure to give it a bit of room to grow. When your water is boiling, carefully place your pudding into the pot. It will take about a half hour to cook.
 While the quaking pudding is cooking, we’re going to make a quick sauce with some butter and sugar. In a small saucepan or


 Karen Hess who transcribed Martha Washington’s Booke of Cookery has this to about the recipe, “The English early took to payn perdu and made it their own. It was rarely omitted from a cookbook, usually listed under made dishes. Made dishes are any dish that amuses the cook or shows off her skill.”

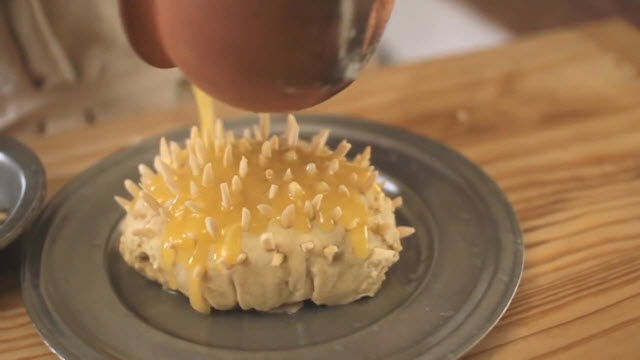
 We’re going to start off with about four tablespoons of butter and then once that’s melted, add in about two tablespoons of sac, and a tablespoon of sugar. Now you want to
  Once the toast has finished soaking, melt the butter in your frying pan and put in the toast. If your bread’s really stale, sometimes it can be very fragile so you might have to be careful as you put it in the pan. Cook them until they are golden brown on both sides, flipping once halfway through cooking.


 You’d be amazed with nothing but a little bit of flour and one apple what you can turn out. It is really good.


 Leaven or Sourdough Starter is very easy to make. First you make a very simple bread.

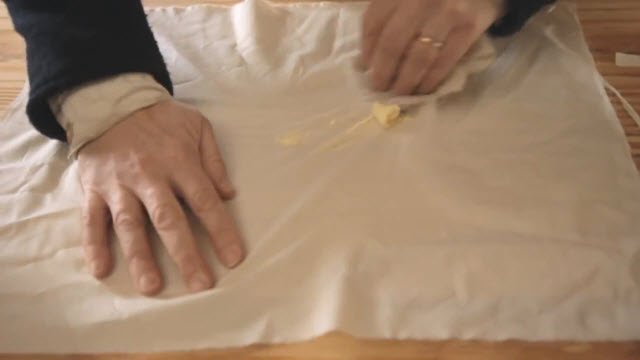
 Punch a hole in the middle of your dough to fill with salt then place the dough in a cavity in the salt

 There is a distinction between the word leavening and the word leaven. The word leavening is a generic term meaning anything that you add to dough that creates a lighter and fluffier loaf when you’re finished. Leavening can be mechanical, such as whipping air into egg whites to create a meringue that gets folded into the batter to make a lighter bread. We could also use a chemical agent such as
  These cause a chemical reaction creating carbon dioxide bubbles for a lighter and fluffier sort of bread. Then we have yeast, which is a biological agent that produces carbon dioxide bubbles as it ‘eats’ through the sugar and starch in the dough.


 Throughout history, bread has been a vital staple of life. . Archaeological evidence suggests that pre-Neolithic cultures baked very simple flat bread on hot stones and sourdough breads have been made for millennia. First century Romans observed the Celts of Gall skimming the foam off of beer to create a lighter kind of bread. By the 13th century, bread became highly regulated as an early form of wage and price controls. Unscrupulous bakers who cut corners to increase profits faced potentially heavy punishment. Such regulation was common throughout Europe and early documents show that at least an attempt was made for doing the same thing in 18th century colonial America.
 Ship’s captains faced a continual challenge of having enough food on board to feed a large crew for a long journey. Food spoilage was really his greatest concern. Fresh bread rapidly became moldy on long trips and stored flour would go rancid and bug ridden, so hard bisket was really born out of necessity. It was a means of food preservation. If it was prepared and stored properly it would last for a year or more. In addition to preservation, the bisket form also helped in portability and in dividing the rations when it came time. Soldiers and sailors typically got one pound of bread a day and biskets were usually about four ounces so when it came time to distribute them, each sailor or soldier would get four biskets.
 Biskets were not only used by sailors, but also soldiers and travelers of just about any sort. Traders many times used them to bargain with the Indians and they were also thought to have medicinal properties. They used them in treating edema, indigestion, and gout.
 Knead your dough a bit and then break it up into individual portions about 4 ounces in size. Knead each individual bisket and then form them into a patty for your final bisket shape. Place your biskets on the
  These are going to bake for about 2-3 hours. Many times in the time period, these would be baked and then pulled out. They’d let them cool and then they would bake them again the next day, probably at a lower temperature to drive out any excess moisture and for very long term storage, they might bake these three or four times.
 Cooks would also take the biskets and grind them up or powder them by putting them in a bag and beating them with a hammer then take the crumbs left over and you can use them like flour. This crunched up bisket tastes a lot like raisin bran without the raisins.
 Bread was an important food source in the 18th century. Not only was it a staple, in and of itself, but it was also an important ingredient in many other foods. It was known to many as a staff of life. Bread played such an important role in the nutritional needs of society that, when there were shortages in the supply of wheat, other grains had to be used to avoid mass starvation.
 During the latter half of the 18th century, western European countries saw a massive increase in population. England itself saw a 70% increase in its population during that same period. This expansion had a dramatic effect on the demand and availability of food. Wheat, for instance, doubled in price in this time period. The result was an important trade link between the American colonies and England.
 Wheat became the largest export crop for the Mid-Atlantic colonies in the 1700s. When George Washington decided to diversify away from tobacco, he chose to cultivate wheat. Consumer goods that were imported into the colonies were often paid for in wheat flour.

 Mixed grain breads were made with a combination of grains, wheat, barley, oats, and rye. At other times, other things were included such as potatoes, rice, beans, or even peas. Mixed breads were generally considered far inferior in taste and texture to wheat breads.
 Today we are going to be making a mixed grain bread made from wheat flour, rye flour, and barley flour. It would have been a much less expensive loaf to produce intended mostly for commoners. It would have been found in England and the American colonies.


 Sprinkle your
  When your bread is ready to bake, make sure to preheat your oven. If you’re using an earthen oven, you want to get that up to full temperature and then let it cool down to bread temperatures. If you don’t have your wood fired oven yet, you can use a standard home oven. You want to make sure to preheat it to about 400 degrees.


