

For common people in 18th century Great Britain and the American colonies, there were three main dietary pillars, bread, porridge, and ale. People depended on these three things for survival. While there were many similarities between English cooking and that of the colonies. There were also some vast differences as well.
Breads were made with other grains in addition to wheat to make a cheaper loaf for laborers. These breads were promoted to ease the tremendous demand on wheat in Great Britain and Western Europe. This demand for wheat created an important trade link between the mid-Atlantic colonies, where wheat was grown, and Great Britain. The majority of wheat that was grown in these colonies was exported. 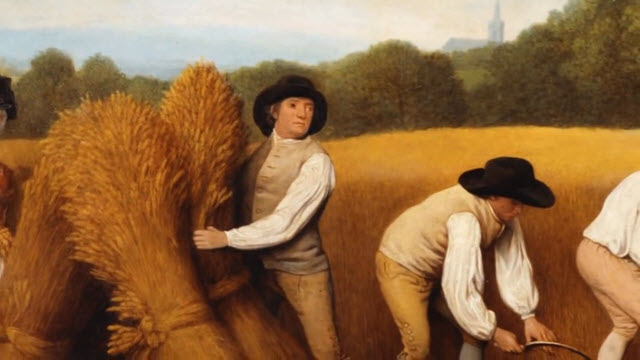
This created a void of sorts in the food supply for the colonists. It was only natural for this void to be filled by something that was native to the Americas, corn
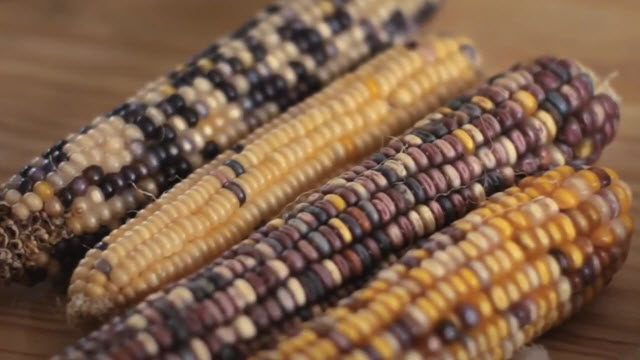
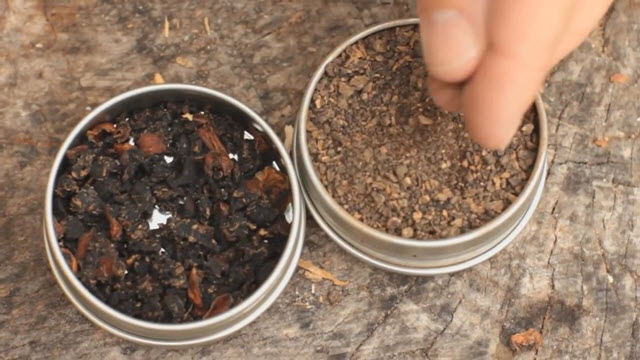
The word corn, used in the 18th century, meant a kernel or granule of something, like a grain of wheat, rice, barely, or even gunpowder. When we say corn we usually mean yellow corn, field corn, or sweet corn, but in the 18th century they always used the term Indian corn or maize.
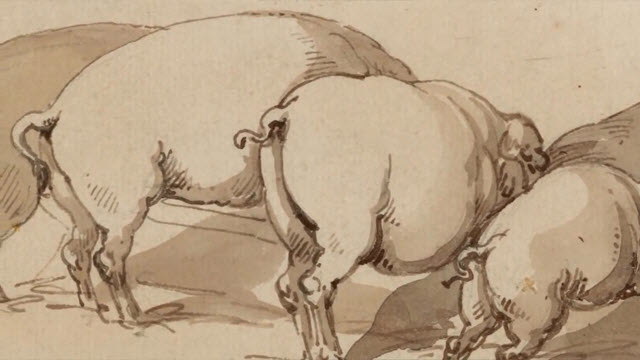
In Great Britain, the common perception was that Indian corn was unfit for human consumption. They considered it animal fodder. You simply won’t find recipes that use corn in the old English cookbooks of the 18th century.  There’s a passage in Joseph Plum Martins Revolutionary War Memoir that expresses this sentiment. “When they (the British soldiers) could find none to wreak their vengeance upon, they cut open the knap sacks of the(Continental) guard and strew the Indian meal about the floor, laughing at the poverty of the Yankee soldiery who had nothing but hogs fodder, as they termed it, to eat.”

The earliest European settlers to the Americas were introduced to this grain by the Indians. They’d been cultivating and eating corn for thousands of years. As demand grew for wheat in the growing Western Europe, more and more of it was exported away from the American colonies. Corn grew in importance in the diet of the colonists, especially for the rural and the poor. So interestingly the three dietary pillars of porridge, bread, and ale remained the same, but with variations. A porridge that was traditionally made with oatmeal was made with cornmeal in the colonies. The wheat in bread that was eaten in Europe was made into corn journey cakes or Johnny cakes, and of course ale was sometimes replaced by corn whiskey.
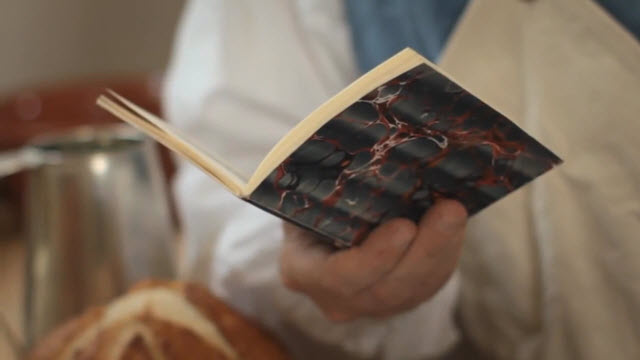
In our research, we did find a number of 18th century experimental recipes for yeast based bread using Indian corn. These British recipes used a combination of cornmeal and wheat flour very similar to other mixed grain breads. Now it makes a very delicious loaf, but it appears that it was very unpopular. Here’s one authors appeal. He says, “This makes a very cheap and flavorful and nourishing bread. The color of it is true, is very different from that of common bread, but we often eat, by choice, cakes and other kinds of confectionary as deep colored as this and provided that what is set before us is palatable and wholesome, we must not, in times of scarcity, object to it because it may not be altogether pleasing to the sight.”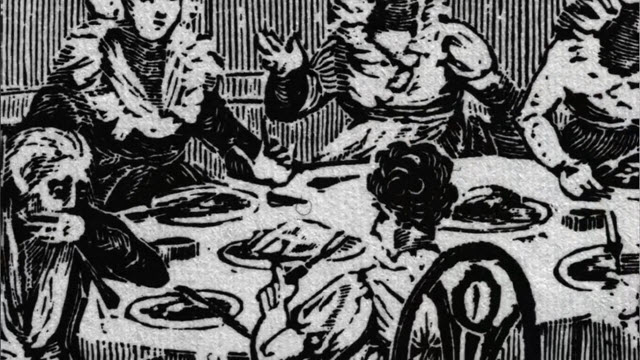
Now when you think of cornbread, you probably think of something like a box of Jiffy mix. These modern day mixes depend on baking soda or baking powder to give it a light and airy texture, but the earliest forms of cornbread in colonial America were of an unleavened type, very similar to the oat cakes or bannock bread that you’d find in the Scottish highlands. It wasn’t until the early 19th century that chemical leavening agents like pearl ash or Saleratus were introduced and used to make a cornbread that we might be familiar with.
We are going to use the earliest cornbread recipe that we have so far from Amelia Simmons in 1796.
- 1 cup Milk
- 3 tbsp. Butter
- 1 tbsp. Molasses
- 1 pinch Salt
- 3 cups Cornmeal
- ½ cup Wheat Flour
 Place your milk in a saucepan over low heat to scald. To it, add the butter, molasses, and salt, and stir well.
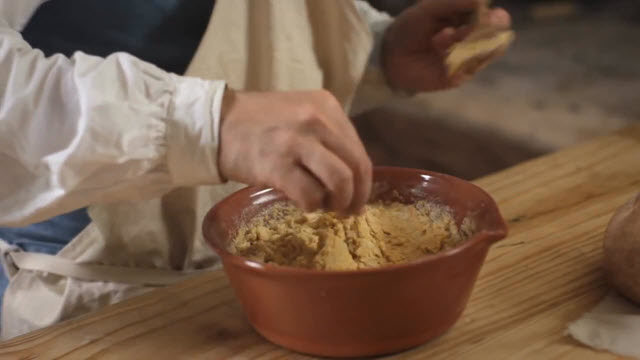
In a separate bowl, mix three cups of cornmeal and a half a cup of wheat flour. After the milk is heated, add it to the cornmeal and mix it well.
Now you can cook it in two different ways.

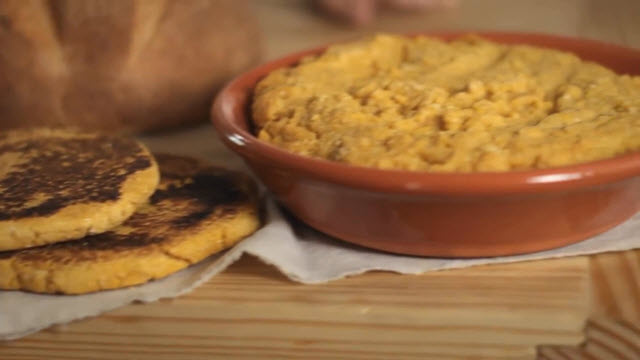
You can pour it into an already greased pie pan and bake it. When it’s done in this method, it’s called a common loaf. Preheat your oven to about 375 degrees and cook for about a half an hour in this way.
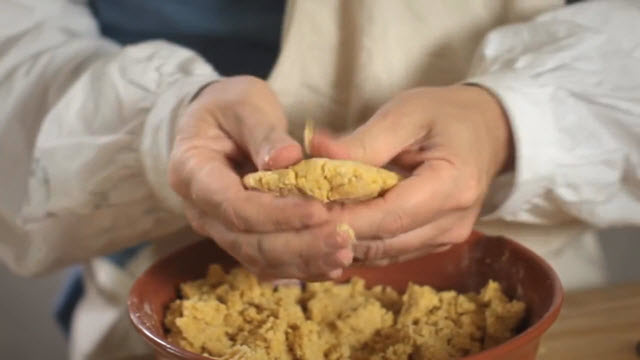
You can also make up some journey cakes or Johnny cakes. Just form up some patties, about a half an inch thick or so and three or four inches around, and then fry them in a pan. If we’re going to use these as journey cakes, take them with us in a haversack, we want to cook them dry without any oil or butter in the pan. 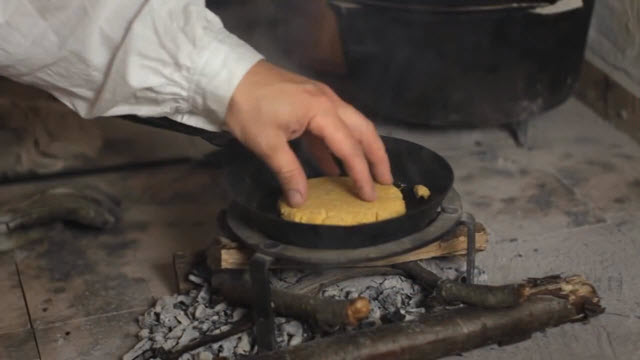
If you’re going to eat them right away, you can use butter or grease in your pan and they are really tasty.
Laborers and slaves would bake these cakes on their hoes right over an open fire, thus the name hoe cakes. They could also be baked on a bannock board right before the fire.
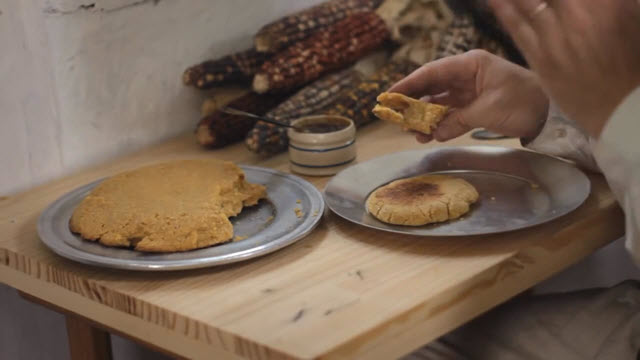
This is a great simple adaptation of bread made with corn in a North American kind of way. I’ve also run into a sauce in an old cookbook that goes great with this cornbread. It’s got molasses, butter, and a splash of vinegar. This would make a great meal in and of itself and also very good with soup or beans.
Transcription of Video:
In our last episode, we covered mixed breads. These mixed grain breads were made with other grains in addition to wheat to make a cheaper loaf for laborers. These breads were promoted to ease the demand on wheat in Great Britain and Western Europe. As we discussed, this demand for wheat created an important trade link between the mid-Atlantic colonies where wheat was grown and Great Britain. The majority of wheat that was grown in these colonies was exported. This created a void of sorts in the food supply for the colonists. It was only natural for this void to be filled by something that was native to the Americas, corn. In our recent episodes, we’ve taken a closer look at breads of the 18th century. In this episode, we’re going to be looking at an early cornbread.
For common people in 18th century Great Britain and the American colonies, there existed three main dietary pillars, bread, pottage, and ale. People depended on these three things for survival. While there were many similarities between English cooking and that of the colonies. There were also some vast differences as well. Using corn was one of them.
Now before we proceed, let’s clarify the word corn. Corn used in the 18th century meant a kernel or granule of something, like a grain of wheat, or rice, or barely, or even gunpowder. When we say corn we usually mean yellow corn, field corn, or sweet corn, but in the 18th century they always used the term Indian corn or maize. In Great Britain, the common perception was that Indian corn was unfit for human consumption. They considered it animal fodder. You simply won’t find recipes that use corn in the old English cookbooks of the 18th century. There’s a passage in Joseph Plum Martins Revolutionary War Memoir that expresses this sentiment. “When they (speaking of British soldiers) could find none to wreak their vengeance upon, they cut open the knap sacks of the guard (the continental guard that is) and strew the Indian meal about the floor, laughing at the poverty of the Yankee soldiery who had nothing but hogs fodder, as they termed it, to eat.”
The earliest European settlers to the Americas were introduced to this grain, this corn, by the Indians. They’d been cultivating it, eating this corn, for thousands of years, so as demand grew for wheat in the growing Western Europe, more and more of it was exported away from the American colonies. Corn grew in importance in the diet of the colonists, especially for the rural and the poor. So interestingly the three dietary pillars of porridge, bread, and ale, they remained the same, but with variations. A porridge that was traditionally made with oatmeal is made with cornmeal in the colonies. The wheat in bread that was eaten in Europe gets made into corn journey cakes or Johnny cakes, and of course ale sometimes replaced by corn whiskey.
In our research, we did find a number of 18th century experimental recipes for yeast based bread using Indian corn. These British recipes used a combination of cornmeal and wheat flour very similar to the mixed grain breads that we made in our last episode. Now it makes a very delicious loaf, but it appears that it was very unpopular. Here’s one authors appeal. He says, “This makes a very cheap and flavorful and nourishing bread. The color of it is true, is very different from that of common bread, but we often eat, by choice, cakes and other kinds of confectionary as deep colored as this and provided that what is set before us is palatable and wholesome, we must not, in times of scarcity, object to it because it may not be altogether pleasing to the sight.”
Now when you think of cornbread, you probably think of something like this. These modern day mixes depend on baking soda or baking powder to give it a light and airy texture but the earliest forms of cornbread in colonial America were of an unleavened type, very similar to the oat cakes or bannock bread that you’d find in the Scottish highlands. It wasn’t until the early 19th century that chemical leavening agents like pearl ash or Saleratus were introduced and used to make a cornbread that we might be used to.
The earliest cornbread recipe we have so far is from Amelia Simmons in 1796. Let’s make some.
We’ll start with about a cup of milk. I’ll put this in a saucepan over a low heat to scald. To this I’m going to add three tablespoons of butter, a tablespoon of molasses, and a pinch of salt. Now let’s stir this around.
In a separate bowl, I’ve got three cups of cornmeal and a half a cup of wheat flour. After the milk is heated, I’m going to add this to our cornmeal and mix it well.
Now we’ve gone ahead and made a second batch so that we can cook it in two different ways. We’re going to take this second batch and pour it into an already greased pie pan and we’ll bake this. When it’s done in this method, it’s called a common loaf.
And we’re just going to settle that into our pan evenly and put this into the oven already preheated.
For more information about how to cook with one of these earthen ovens, make sure to check out our Building an Earthen Oven Part 2: Baking Bread. That’ll teach you how to use this. If you’re going to be using a regular oven at home, you can bake this at 375 degrees for about a half an hour.
While our common loaf is baking, we’re going to make up some journey cakes or Johnny cakes. I’ve got our other batch of dough here and I’m just going to form up some patties, about a half an inch thick or so and three or four inches around, and these we can fry in our pan. If we’re going to use these as journey cakes, take them with us in a haversack, we want to cook them dry without any oil or butter in the pan. If you’re going to eat them right away, you can use butter or grease in your pan and they are really tasty.
Laborers and slaves would bake these cakes on the hoes right over an open fire, thus the name hoe cakes. They could also be baked on a bannock board right before the fire.
A great simple adaptation of bread made with corn in a North American kind of way. I’ve got a sauce here. It’s something I ran into in an old cookbook. It’s got molasses, butter, and a splash of vinegar. Let’s try this out with a little bit of our cornbread here.
Mmm. This would make a great meal in and of itself and also very good with soup or beans. Be sure to subscribe to our YouTube channel so that you can get notifications of new videos when they come out and check out our Facebook page so you can get all the latest news from Jas. Townsend and Son. All the items you’ve seen here today, all the cooking utensils, all the clothing, these things are available on our website or in our print catalog. I want to thank you for joining us today and I want to invite you to come along to enjoy the flavors and the aromas of the 18th century.

 Before you can cook with ironware, it has to be seasoned, and the seasoning does several different things. First of all, it keeps your ironware from rusting. It also creates a nonstick surface, so it makes it much easier to clean after you’re done cooking, and it also separates your food from the metal so you don’t get a metallic taste in your food when it’s done.


 Before you build your oven, you have to consider what you’re going to build your oven on. There are historical examples of ovens built on tables, brick or stone plinths, and hearths. You will also need to make sure that your oven is protected from the weather. This is water soluble and it will just wash away with the rain, so if we need this to last a while you’re going to want a little roof over it.


 There aren’t very many critical things about the shape and the size of your particular oven, but there is one critical thing, and that is the height of the opening tunnel compared to the height of your dome. This has to be a particular ratio or else the air won’t draw through when you’re burning the wood inside. The tunnel needs to be between 60-65%, or about 63%, of the height of the dome.


 When you are done with the main body, remove the brick wall at the opening and add a nice rounded opening to it because it will have more strength than a sharp one.
 Keep in mind that whenever you add two pieces together you really have to work it so that the two pieces adhere to each other and it doesn’t just fall off. Add some sand to the opening to support the new lip around the opening.


 Don’t be alarmed if the cracks are especially big, you can repair them with a little extra sand and clay and let that dry in place. When the oven is close to dry, you can employ a few warming fires to help it along. The walls of this oven are extremely durable.
  It takes a lot to break this material up so if you need to do modifications you really have to

 We’re going to use a ¼ teaspoon of cloves, a pinch of cayenne and about ½ teaspoon allspice.
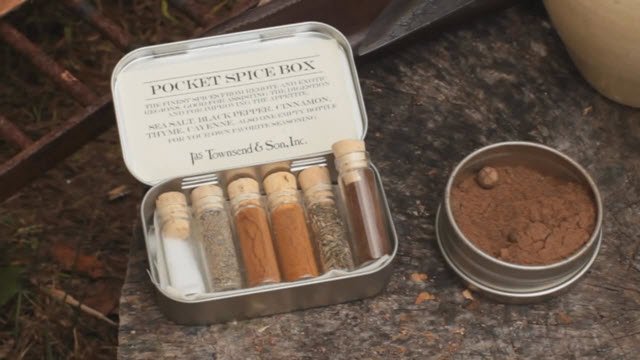


 Gather together a good bunch of early springtime nettles. The best ones are right after they come out of the ground. You want to get the first half of the plant or the first 3 or 4 inches. You don’t want any of the hard stalks or roots. You might want to wear gloves when you pick these because they sting a little. Wash these off like you would lettuce for a salad and then chop them up finely.
 Once the onions are nice and brown, put the nettles in the skillet and stir for about 5-10 minutes.


 Soldiers in the 18th century were given rations of meat, either pork or beef, salt or fresh. Something else that they were given sometimes was fish, salted fish. So here we’ve got some salted cod we’re going to cook up into a very simple yet delicious meal.
 Salted fish doesn’t need to be refrigerated or cooled making it something you can easily take to events. It is something that you can purchase locally that makes a delicious 18th century dish.
 Shred about 6 ounces of fish into little pieces making sure to remove any bones or skin you may find. Mash up about the same amount of boiled potatoes and add your fish. If potatoes weren’t available, it’s likely they would have tried to use bread crumbs or possibly flour as a good substitute for the potatoes.
 Make sure the butter in your pan is nice and hot.
 These were very popular and could be made for breakfast and eaten all day long.

 When using salt pork you have to soak it. It takes several hours to soak it in water, change the water out and soak it again, until it’s ready to use. If you don’t soak it several times and get all the salt out, it’s inedible.


 Many period recipes for soup like this will call for bread to be cubed up and tossed in at the end, kind of like dumplings.
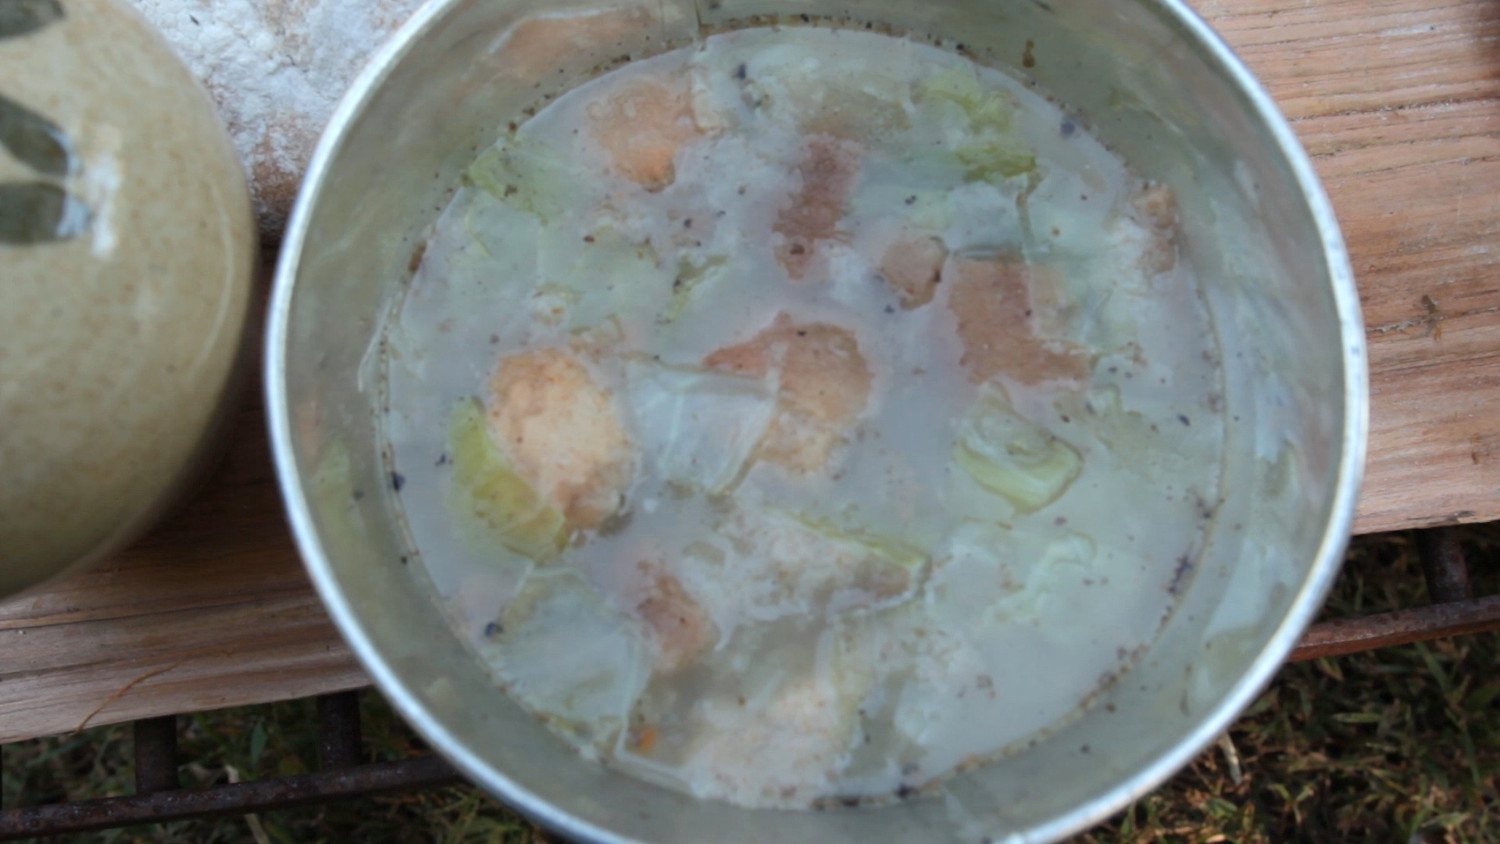


 Today we’re going to prepare our salt pork in a 2 gallon oak keg. This one is a
  Before we get started packing our meat, we need a hot brine solution prepared.

 Spread it out and make sure it’s nice and even, then start putting the pork into the barrel.
 Make sure everything is spread out evenly.
 Place the container in a cool area. The cooler it remains, the longer the meat will remain edible.
